Ubuntu 18.04.2 - Manual installation with root filesystem on /dev/vdb
Start the Boot Image
First login to the control panel: https://my.virtualhosts.de/cloud/
After you have logged in, choose your VPS, click on the gear symbol and then click on “Boot Image”
Now you see a list of available boot images. Choose “Ubuntu 18.04.2”. The VM will now reboot and load the installation image. After the VM has booted and is running, you can open the console
Ubuntu 18.04.2 installation
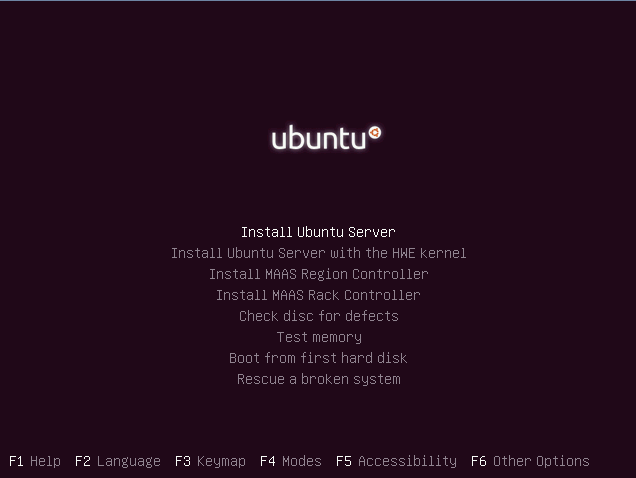
- Ubuntu 18 Grub menu -> select Install Ubuntu Server
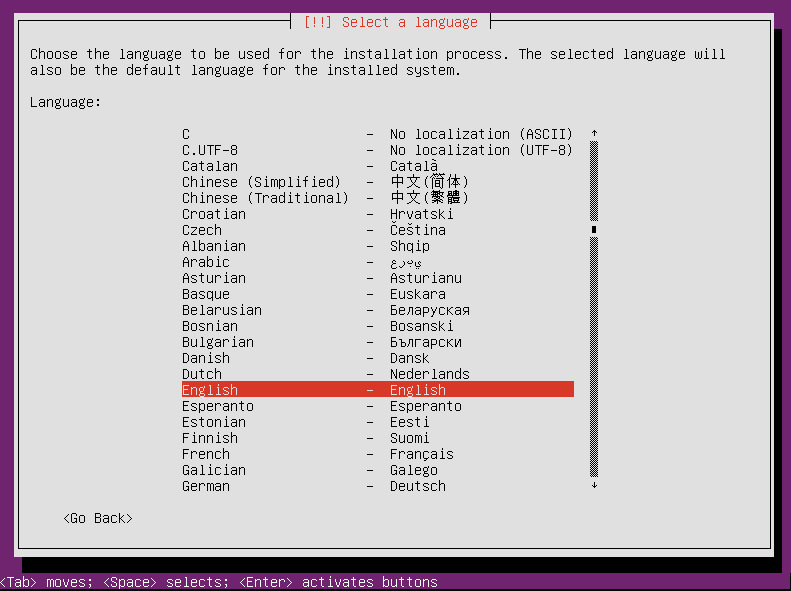
- Select Language
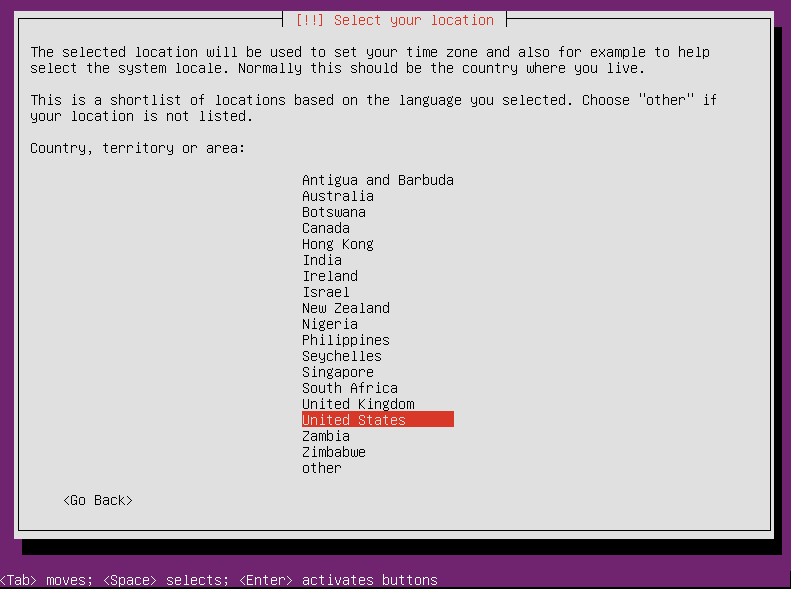
2.1 Select Location
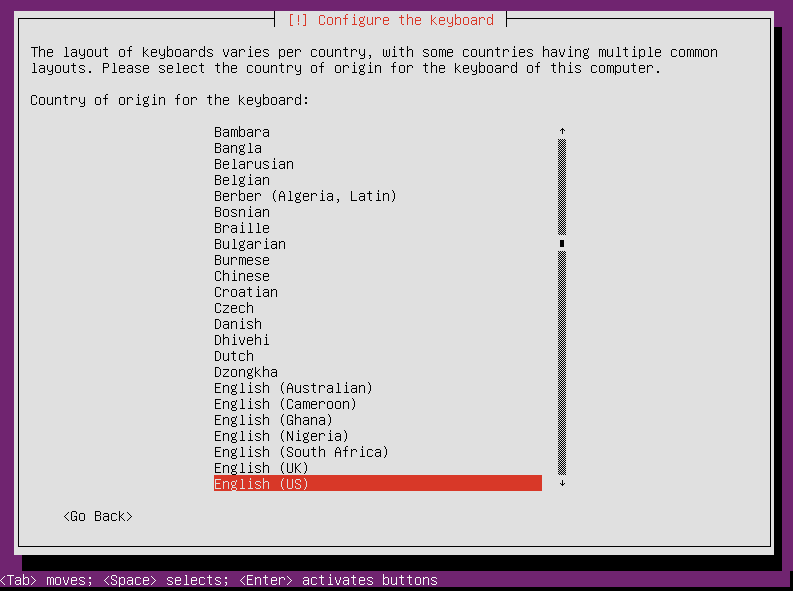
2.2 Select Keyboard
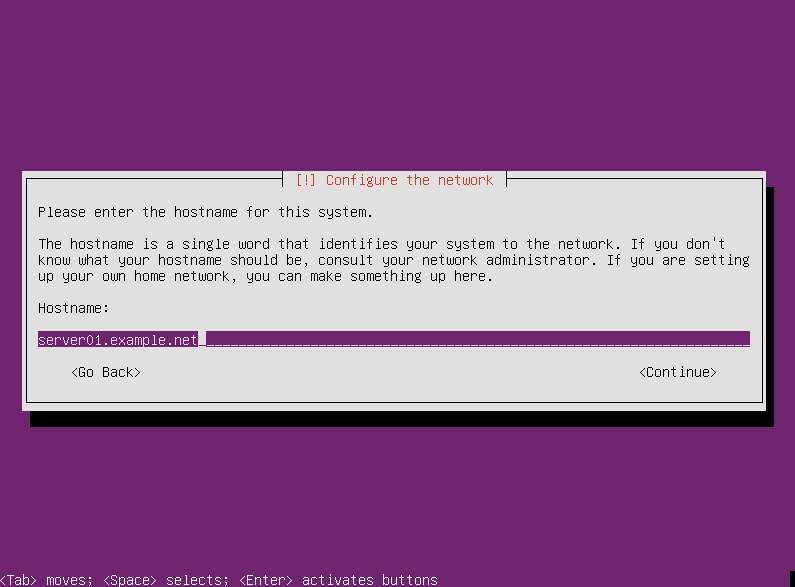
2.3 Setup Hostname
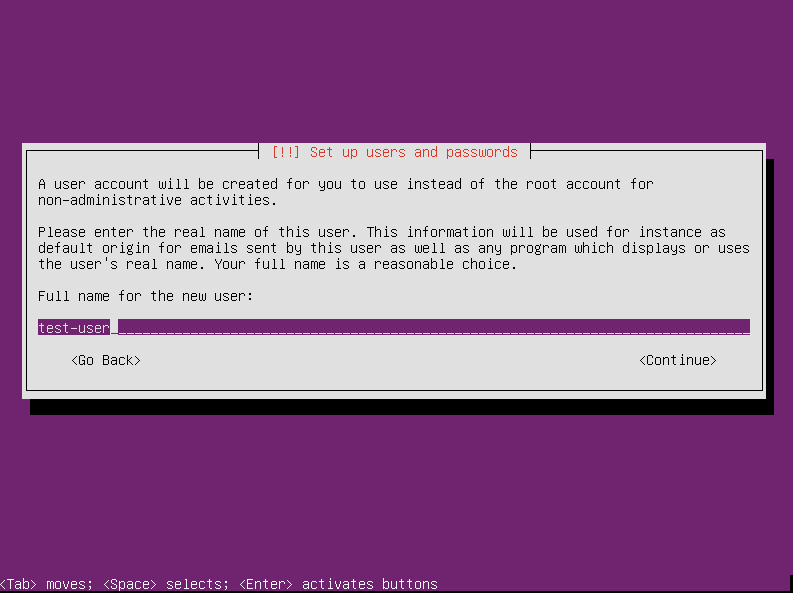
2.4 Setup User and Password
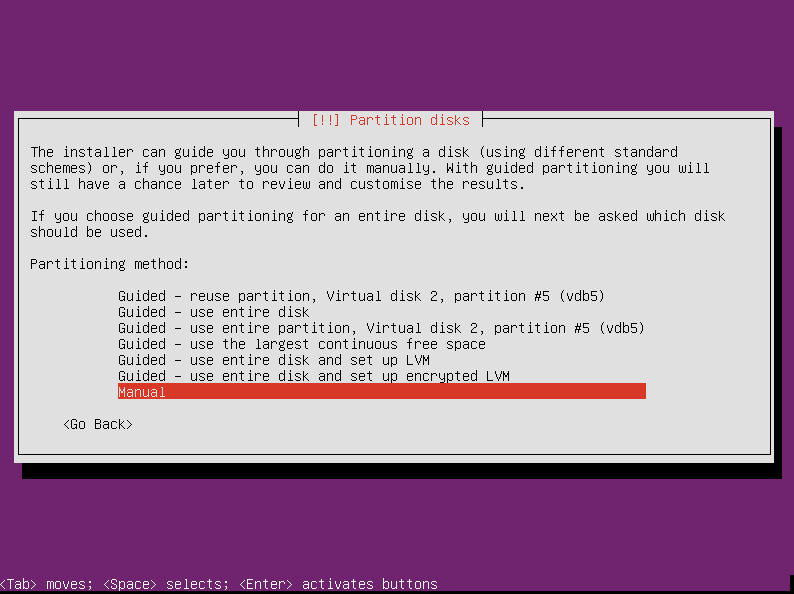
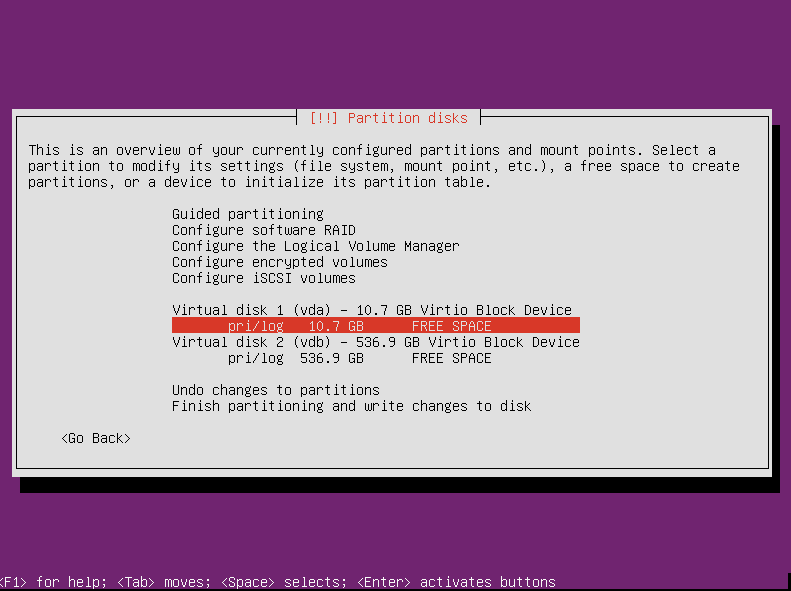
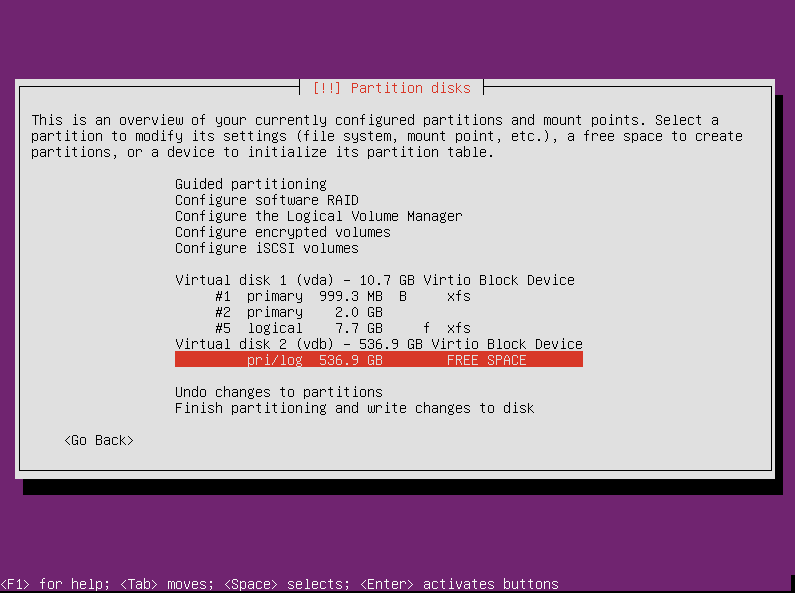
- Partition disks / Creating partitions
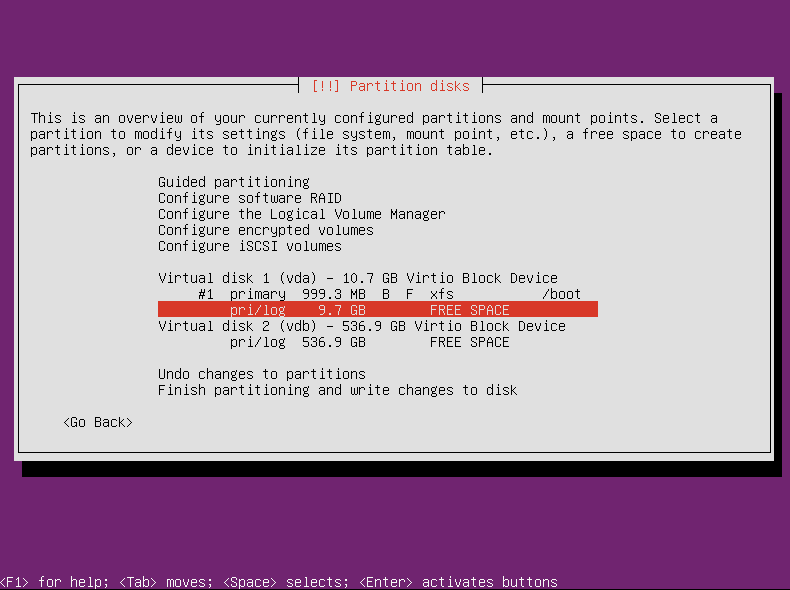
You can freely choose how to partition. Important is that you have the /boot partition located on /dev/vda. In this guide we will give an example like this:
| No. | mount point | filesystem | disk | type | bootable |
|---|---|---|---|---|---|
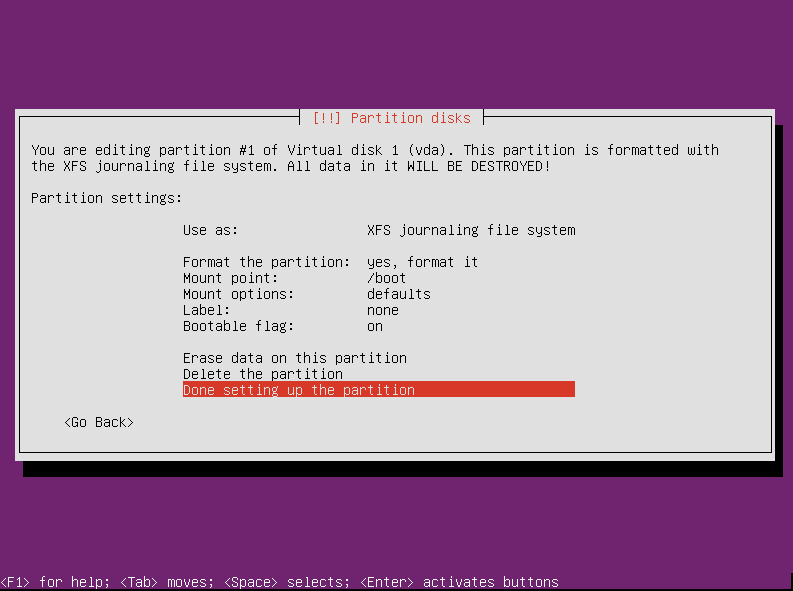
| #1 | /boot | xfs | /dev/vda | primary | On |
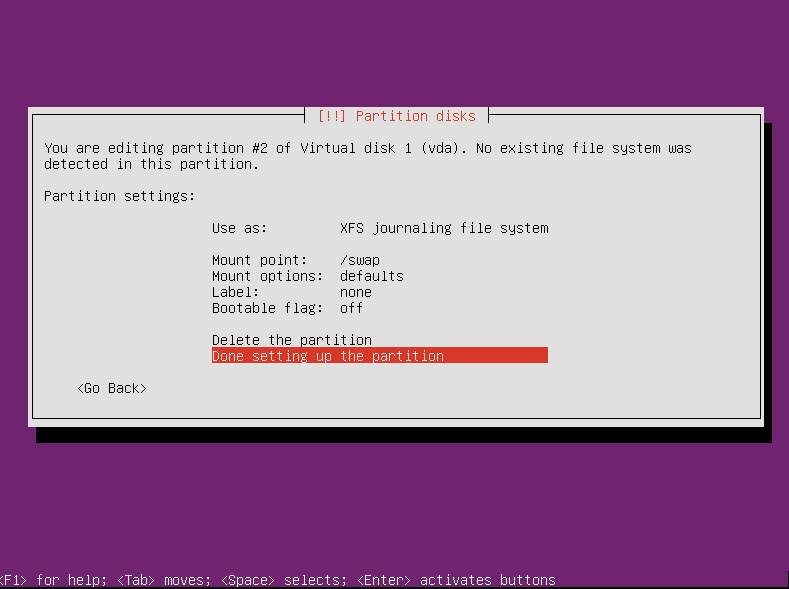
| #2 | swap | swap | /dev/vda | primary | Off |
| #3 | / | xfs | /dev/vdb | primary | Off |
3.1 Select manual
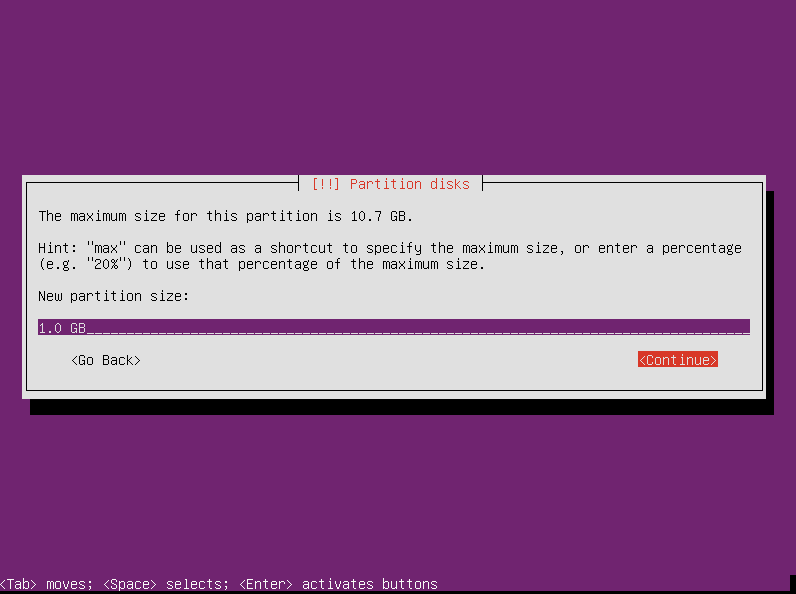
3.2 Create /boot partition of size 1GB. Choose “disk 1” (vda) and type enter
3.2.1 Partition size
3.2.2 Partition settings
3.3 Create partition as swap of size 2 GB on disk 1 (vda)
3.3.1 Partition settings
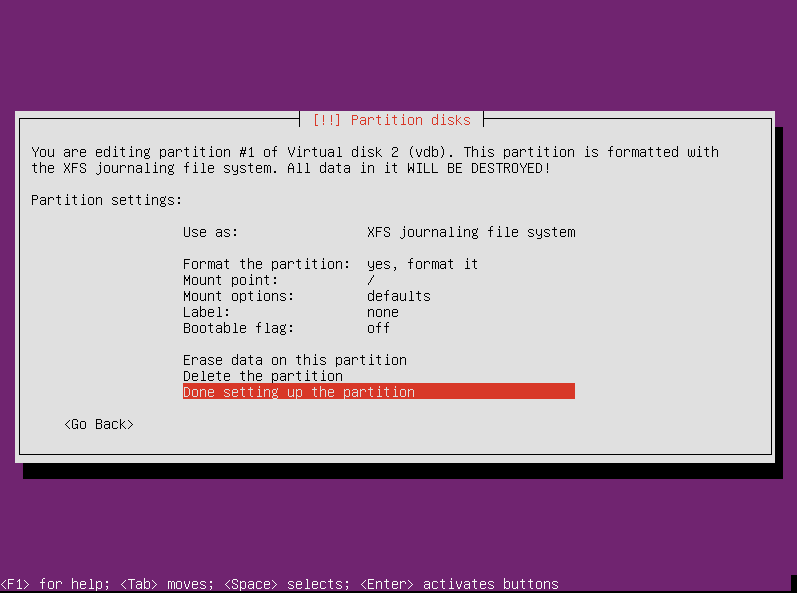
3.4 Now create root filesystem “/” on /dev/vdb.
3.4.1 Partition settings
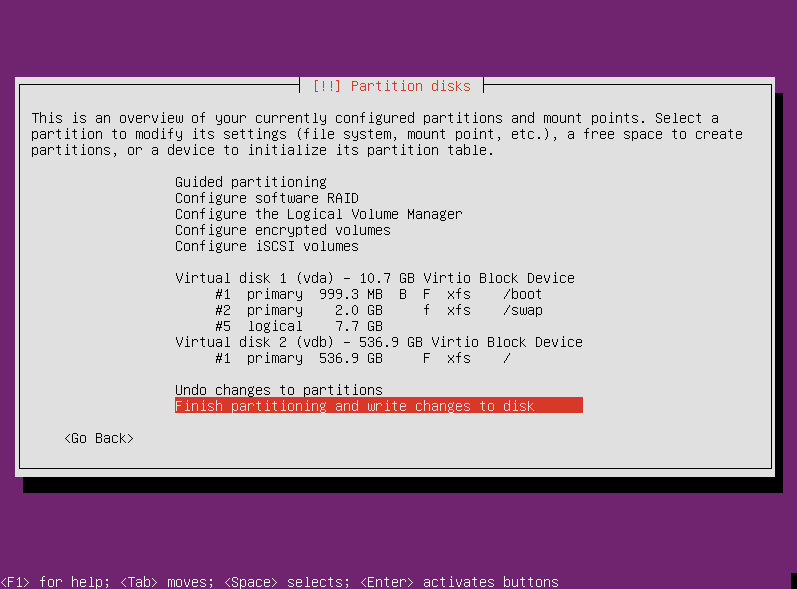
3.5 Finish partitioning
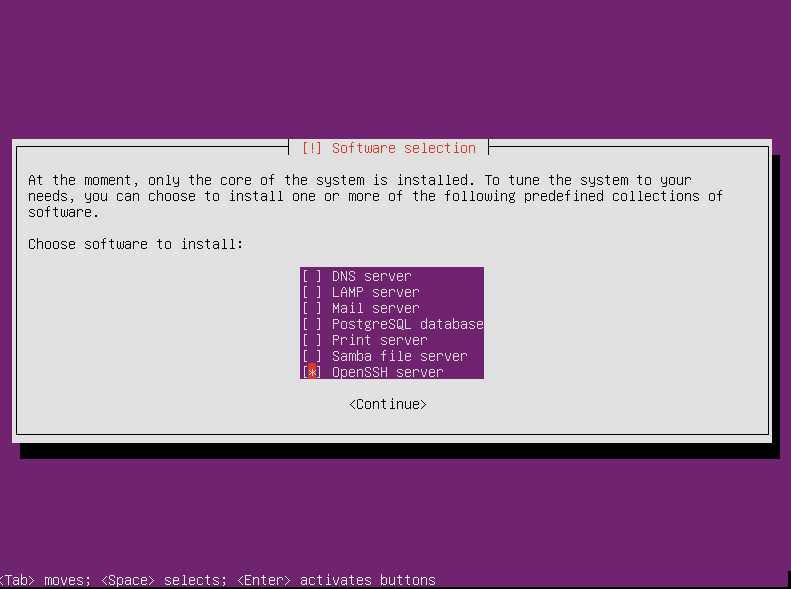
- Software/Service selection
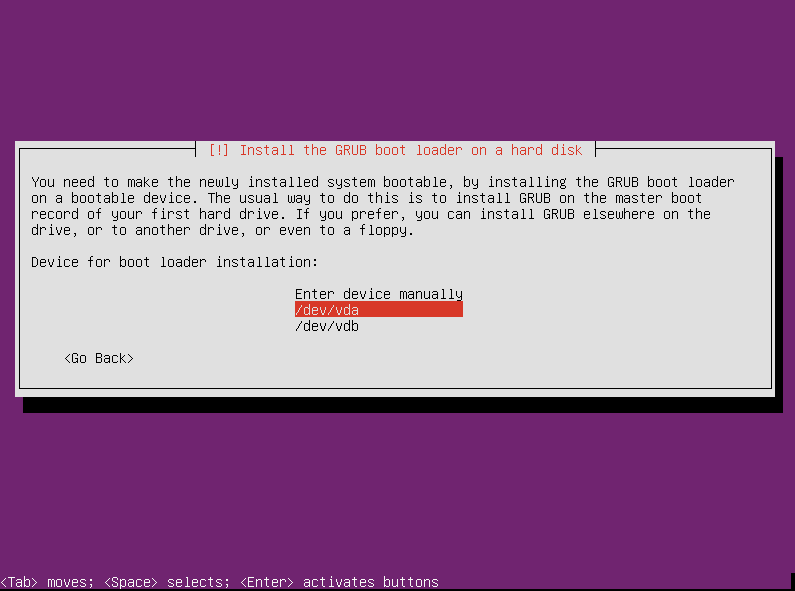
- Install grubloader on vda
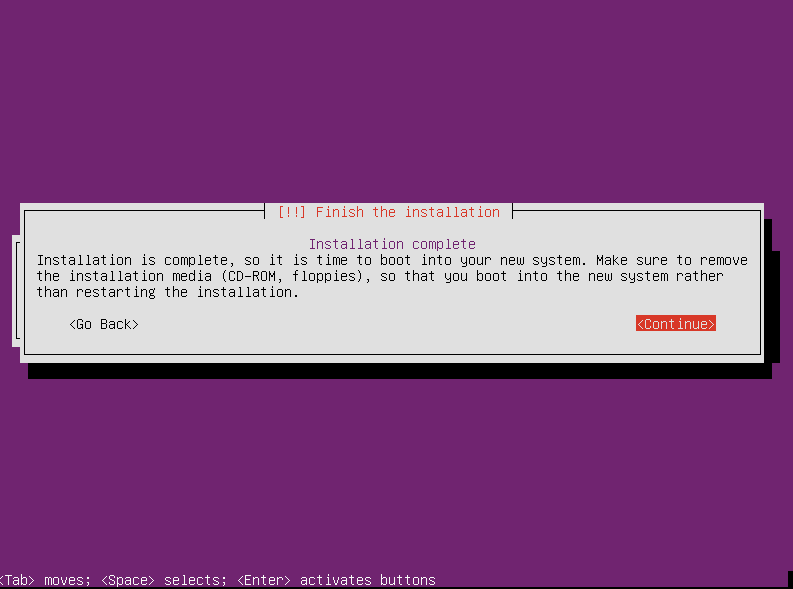
- Finish the installation
Network configuration
The IPv4 configuration will be automatically configured. Only IPv6 needs to be configured additionally.
The usable IP addresses and necessary information about the network (such as gateway address) can be found in our customer portal:
https://my.virtualhosts.de/cloud/ => Control => Server Information => IPv4/IPv6 Settings
To change the network configuration, please edit the file /etc/network/interfaces as in the example below:
auto net0
iface net0 inet dhcp
pre-up echo 0 > /proc/sys/net/ipv6/conf/net0/accept_dad
iface net0 inet6 static
address 2a02:e00:fff0:13x::1/64
iface net0 inet6 static
address 2a02:e00:fff0:13x::2/64
...
iface net0 inet6 static
address 2a02:e00:fff0:13x::a/64
    up ip -6 route add 2a02:e00:fffx::1 dev net0
    up ip -6 route add default via 2a02:e00:fffx::1